Tutorial: colorize a black and white photo
Guide for Gimp on how to add colors to a monochrome image with brushes, with a tecnique called Colorize.

In this tutorial for Gimp we'll see how to turn an old black and white photo into a color photo. Before preoceeding consider that coloring a photograph with Gimp could be a long and tedious work if you want to have a good result, so consider to use a photograph that worth the time you'll have to devote to it. This tutorial has been created as an integration to this tutorial for restoring an old photo, because to have a good result it is advisable to start from the best possible foundations.
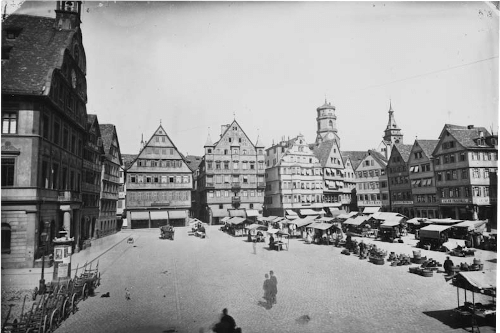
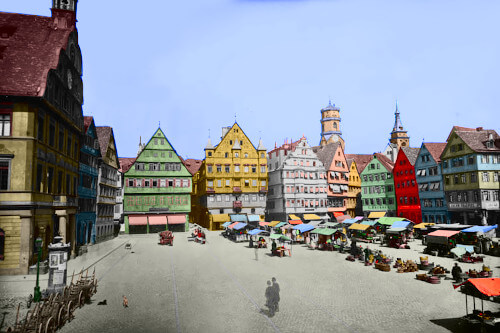
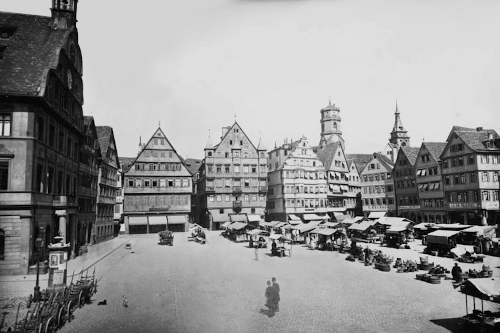
The first step to colorize a black and white photograph with Gimp is to find a correct color palette. In black and white photographs it is impossible to guess the original colors of a dress or a furniture, so I recommend you to use Google to search for an inspiration before decide which color use for a particular object. In my case I decided to use a photograph without copyright of the Stuttgart market, downloaded from the website kmb.raa.se to easily find color references. In your case, if you are working, as example, on a family photo, it could be a good idea to search for colored images of the same years, to identify the most used colors in that era for clothes and decorations. In my case, after a search on the internet, I found these two images under creative common license that I'll use as reference:
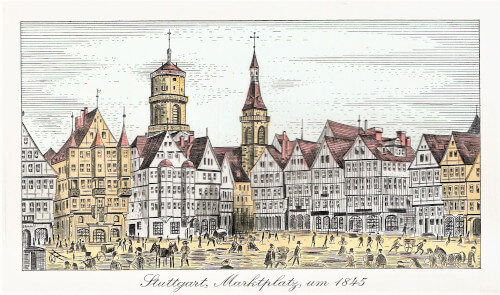
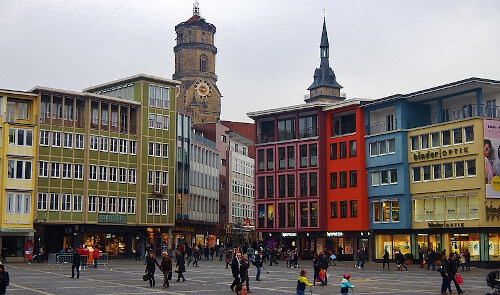
Once we've decided which colors to use, we will apply the colors to each poart of the photograph, but before proceeding on the "how to", I want to repeat: coloring is a precision work and the quality of the result will be proportionate to the time you'll dedicated to it. Remember to color every detail, including jewelry, machine handles, flower petals, people's clothes, background details etc... Actually the examples that you'll see in this tutorial are absolutely too approximate, consider the photos you'll see as the minimum of the detail necessary to obtain a decent result, not as a goal.
How to color the photography
Let's go back to the photo we want to color: the image of Stuttgart. As previously recommended, the photo should be completely restored before proceeding.

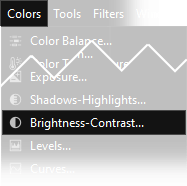
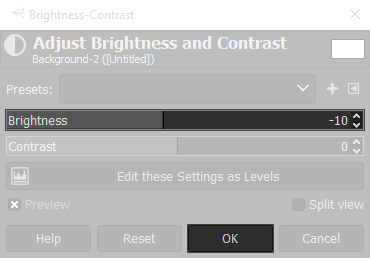
Because of the method we are going to use, it is necessary to be sure that there isn't any completely white part in the photograph, so let's go to eliminate pure whites. There are many different ways to do it, but the easiest is to open the menu Colors → Brightness-Contrast... and set the Brightness to -10, or any other negative value you want. In our case this step has been ignored since there is no white in the original photo.
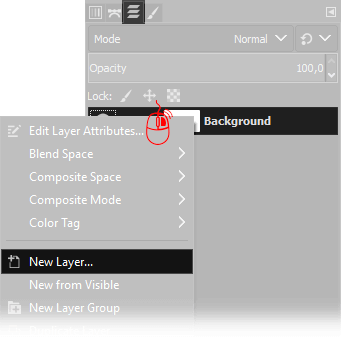
Next step is to create a new blank layer: place your cursor on the Layer window, (press Ctrl+L if you can't find it) then click Right Mouse button and choose New Layer. Default settings are perfect, so simply press Ok when you have to choose the new layer properties.
Before begin to coloring, set the blending method of the new layer as LCh Color, at the moment we can leave the opacity at 100%, later we'll evaluate which opacity value use before merge down the layer.
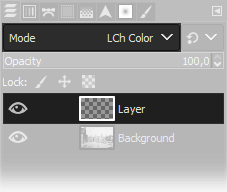
At this point we just need to set a brush and start coloring the image. As already mentioned, I used the colors of the two photographs as an inspiration.
If you don't know what are and how Gimp brushes work you should read
the first one part of this tutorial before proceeding.
For the painting process, proceed as you feel more comfortable, I have done in this way:
- I've set a brush with very large size and first I colored the big parts (sky and floor) and then I moved on to the details, gradually shrinking the brush
- When necessary, I helped myself with a selection to avoid coloring out of the borders (to learn more about this topic, read our Gimp tutorial about selections)
- I've often changed color, avoiding to make too many near details of the same color
- I colored only where it was needed, some spots like windows or white houses have been avoided
- I changed the opacity setting of the brush when I needed to keep colors desaturated
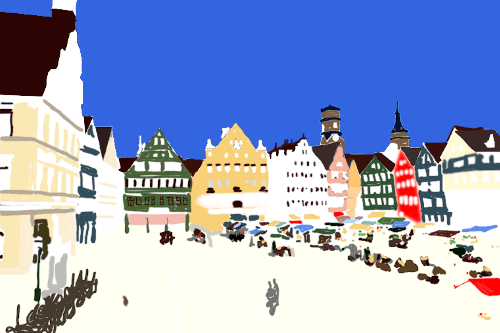
As you can see from the image below, when you color a black and white photograph you don't need to be too precise. Working with the brush layer in LHc color mode, allows you to constantly see how the result will be, you just need to do some tests to understand how to proceed. Below you can see the colored photograph and, on the left, the color layer.

Once you finish coloring, you need to merge down the layer. In this case, unfortunately, it is not easy to give advice that always works well. I've always had good results choosing LCh color with 100% opacity, but the results may change a lot depending on the brightness of the black and white image in the background. Try some tests, I've seen that also the blend modes HSL color and Grain merge can be used with good results.
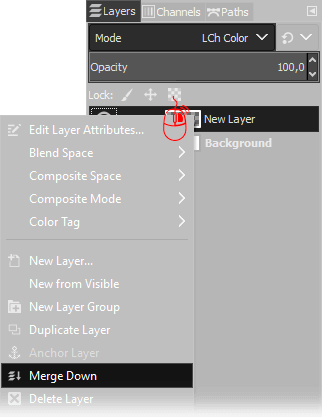
Once you've merged the upper layer with the mode you prefer, you can correct the saturation by opening the menu Colors → Hue-saturation, using the slider Saturation to increase or decrease color brilliance.
You could also consider correct the contrast and brightness of the photo. As always the best solution is to use a color curve, as explained in this tutorial. Don't worry tho if the colors are a little faded: the first color cameras had a slightly poor quality. Also remember that many of the vintage photographs you see exposed were colored using real brushes and colors. As we have already mentioned, if you dedicate more attention to small details, the result will surely be better. This is just a tutorial to show you how to do it.
Other examples of colorizing an old photo
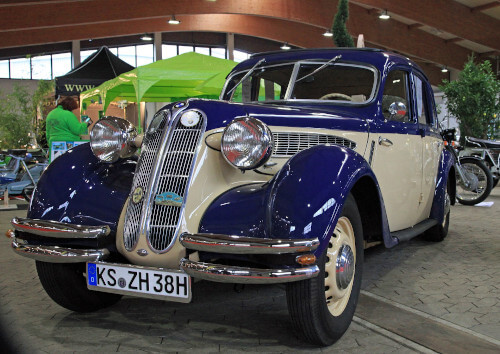
In this example I've made a practical test to see if the result is correct. I took a color photograph and converted it to black and white. Using the color photo as a palette, I've used the technique described in this tutorial to color the image. This is the result. As you can see the result is amazing, it's almost the same of the original picture, except for the details on the chrome plating, which I could have reproduced anyway. The photograph is distributed under a creative common license by Pixabay (Photo by Bernd Hildebrandt)
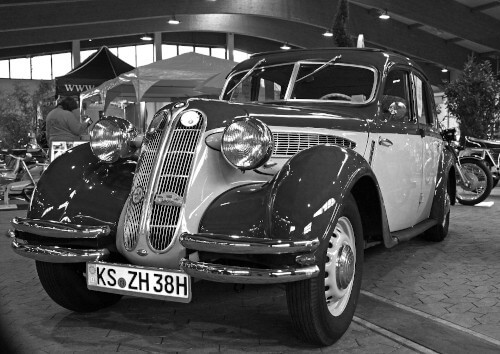
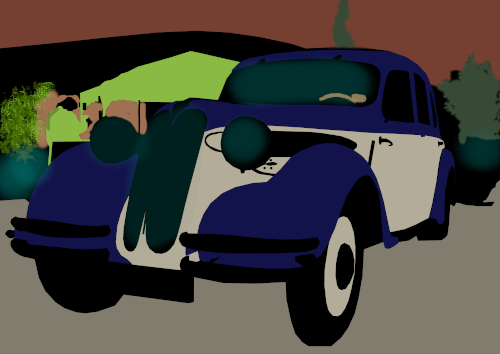
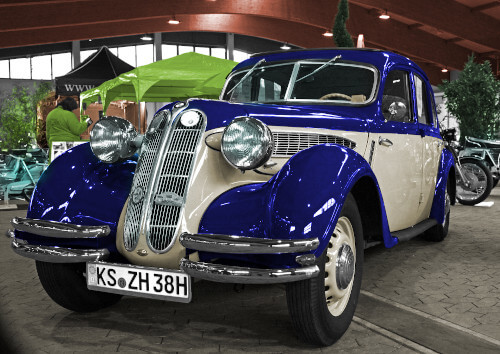
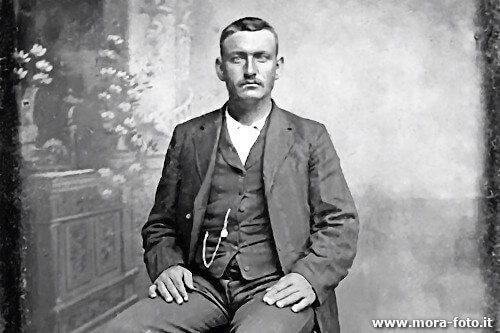
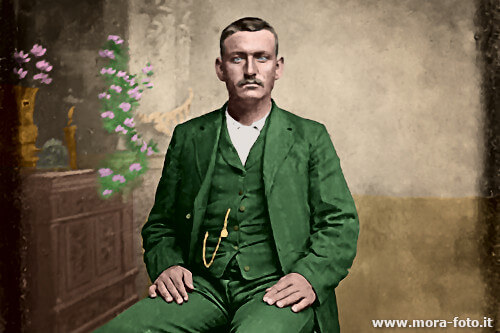
To conclude I wanted to try to color a photograph of a human subject. The image is the one I used in the tutorial for restoring an old photo with Gimp. In this one it was more difficult guess which colors use. As you can see I used fantasy for the background, while for the clothes I did a research on the clothes of the time. The dress could also have been brown or dark gray, but I preferred green because I thought it was more suitable for a colorize tutorial. If you have a family photo, try to ask for help from older relatives.
If you liked this tutorial here you can find all the tutorials we wrote about editing with Gimp, or you can all the guides we have written about photography in general. If you liked our work, you could consider to ❤support us: by clicking here you can see how.