Red Eye Removal, Gimp tutorial
Remove the red pupils effect in photos with photographic flash with Gimp.

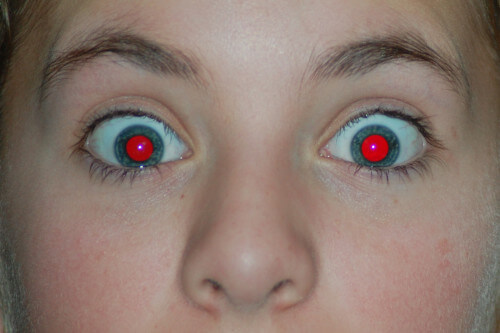
The red-eye effect in photography is the common appearance of red pupils in color photographs of the eyes of humans and several other animals with the use of photography flash. In this tutorial we will see how to use the Red eye removal tool of Gimp to solve this problem.
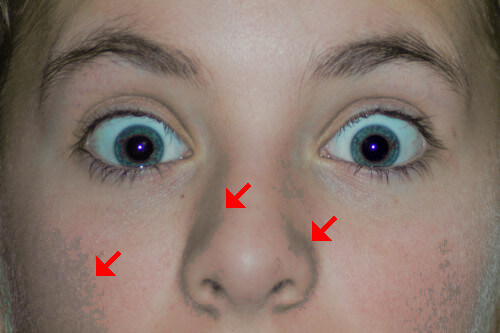
Many software have already integrated a function to fix the red eyes automatically, but the method I'd like to teach you today with Gimp is very useful to avoid some small defects that might appear using automatic tools. Usually the Red-eye removal tool eliminate all the red tones found on the photograph and replace it with the black color of the pupil. If not used correctly, you risk getting the wrong result, similar to the image below (emphasized), where the pink of the cheeks has been replaced with black, as too similar as hue to the red reflection in the eyes. This defect will be more visible when there will be red objects in the photograph. If you'll try to take the red eyes off a subject dressed as Santa Claus, for example, the results will be terrible.
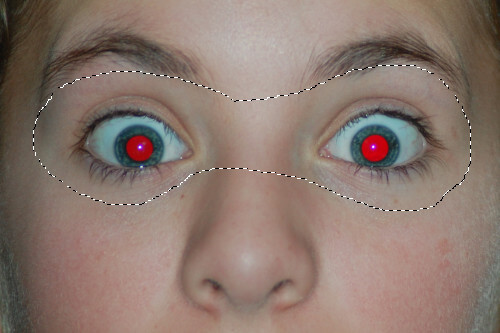
To avoid this inconvenience we need to make a selection around the eyes area, applying the filter only where needed. With the Free Select Tool, or any other selection tool you like, (here a tutorial on selections) we'll draw a fast and rough selection around the eyes. The selection can be very approximate, as long as it doesn't contain anything that has a red tone.
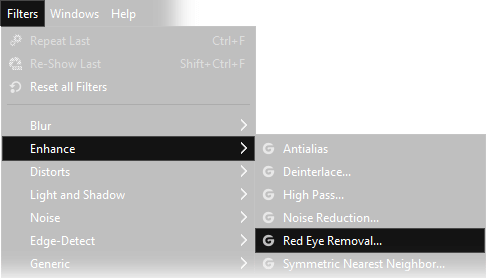
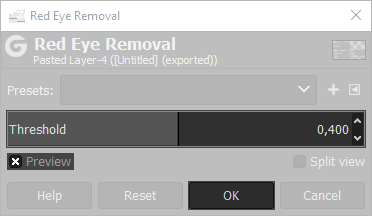
Open Filters → Enhance → Red eye removal... and move the threshold slider until the result in the preview appears correct, then confirm with OK.
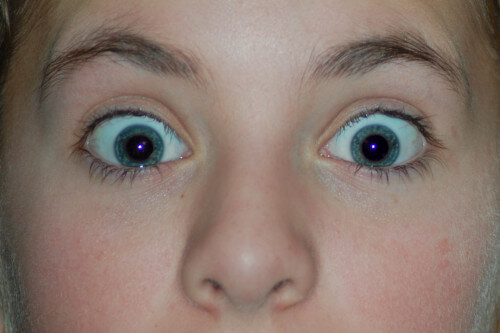
As you can see from the result down there, the Red eyes removal is limited to the selected area, and the cheeks are safe.

If you liked this tutorial here you can find all the other guides we wrote about photo editing with Gimp, or you can go there to take a look to our photography tutorials. If you liked our work, you could consider to ❤support us: by clicking here you can see how.