Selective Black and White, Gimp Tutorial
Selective Black and White is the ideal solution if you need to focus the attention on the subject of a photo.

Making the selective black and white with Gimp can be very useful to draw attention to a portion of the image, such as a particular subject in a chaotic scene. This technique has also been used in cinema, as for example in Shinder's list movie (who has seen the film cannot forget the scene of Roma Ligocka, the little girl dressed in red). Selective black and white is very simple to make with Gimp, but it implies a certain familiarity with the selections. If you are not sure on how to use a selection, you can read our selections tutorial.
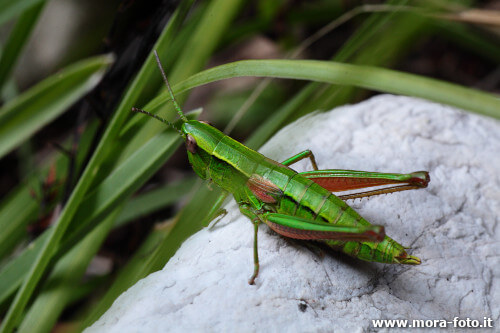
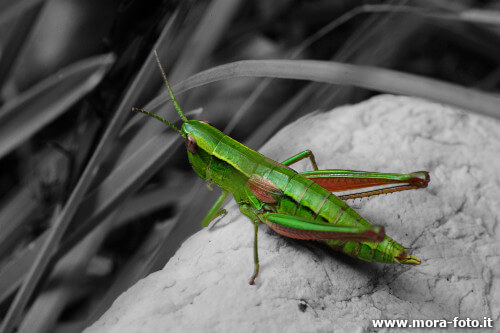
Let's choose a photograph suitable for the purpose, in my case a cricket resting on a stone, and open it with Gimp.
I have chosen this photo because, being green on green, it would be impossible to use shortcuts, like for example
the filters present on many smartphones, which allow you to make an automatic selective black and white by selecting the color
that we want to keep (e.g. convert everything but red to black and white).
Using the selection tool that we consider most suitable (I used freehand selection), select the subject.

Apply a softness to the mask, in order not to make the selection smoother, 2 or 3 pixels shoud be enough if your photo has a medium resolution. Open Select → Feather and set the correct value. If the resolution of the image is high, as ours, you should use an higher value. We used 5 px.
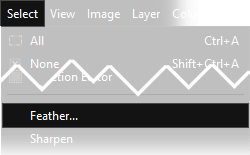
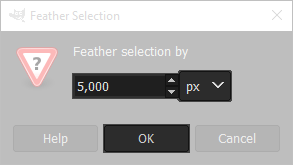
Now let's reverse the selection with Select → Invert, because we want to work on the background, without affection the cricket.
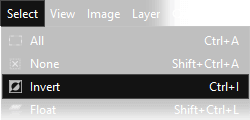
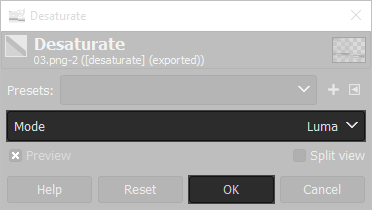
Now we need to make the background black and white: to apply a simple desaturation, simply open Colors → Desaturate → Desaturate..., select your favourite desaturation mode between Luminance, Luma, Lightness, Average or Value and confirm with OK.
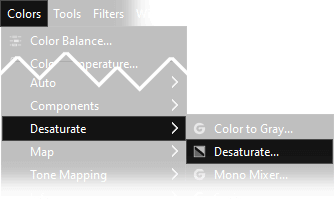
Another way to proceed, definitely better, is to duplicate the background layer, hide the top layer and apply to the one below a better black and white, more accurate and customizable, using Gimp's mono mixer, as explained in this tutorial. Once we get the desired result, we can make the top level reappear, then select the cricket, invert the selection (Select → invert) and then delete the background with the Del key on the keyboard.
Now the subject shuold be really flashy on the background, if you have any issue, you should redo the selection with more attention. Next you can see the photo before and after the selective black and white effect If, for any reason, you don't like to use the selections, you can also use the eraser tool, in the same way we use it on this tutorial for double exposure.


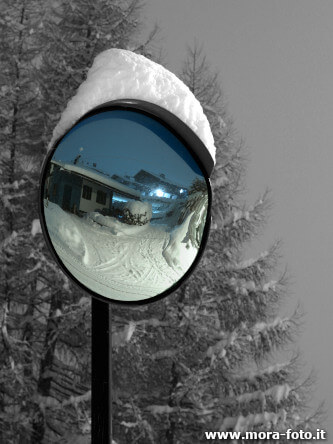
To give you a better idea of the effect applied to other images, below you can see more examples of Selective black and white made, as always, with Gimp. The coloured part become the center of attention, standing out over the monochrome background.


If you liked this tutorial the tutorials we have written for improving your photographs with Gimp, or you can all the guides we have written about photography. If you liked our work, you could consider to ❤support us: by clicking here you can see how.